![]()
Smokin Pershing
These instructions show how to get that Pershing Smokin' up! Using the same basics as the King Tiger instructions the only differences are the ones shown below Feel free to drop me an email if you require templates, parts or simply additionla info and I will try and help! |
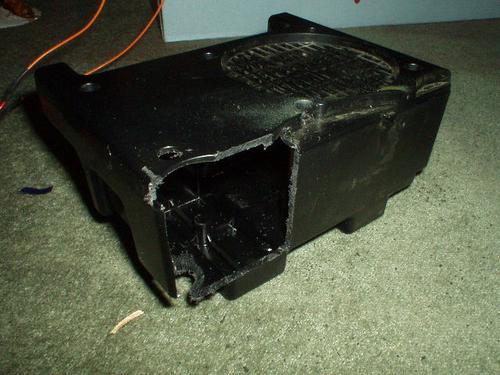
Step 1
Slightly different approach due to the lack of space in this little puppy! The smoke box is built within the speaker box itself, which has to be cut as shown to accomodate the fan. |
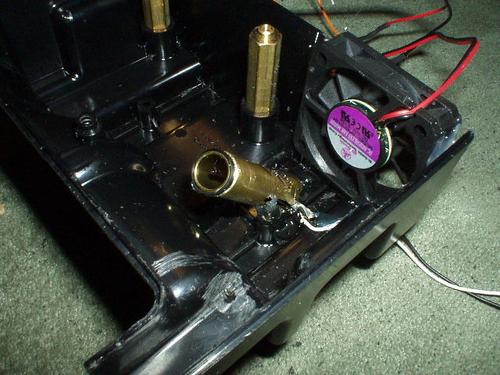
Step 2
A close up of the internal detail of the smoke box, note the generator is mounted at an angle to allow the box to close properly. All the wiring is exactly the same as the previous projects. |
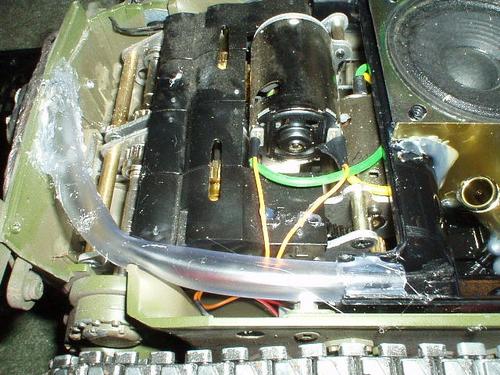
Step 3
A small length of pipe is run to the exhaust. I found heating the tube with a hair dryer helped when bending it into place. drill 2 hols in the plastic exhaust, angle them slightly downwards for best effect. The tube is cit at an angle to cover both holes and plenty of glue is used to seal the join! You will probably find that you have to trim it down a little for the engine deck to fit back snuggly Note the brass sheet glued across the speaker, this creats our little smoke box within, stops all the smoke escaping to where we dont want it, a little blue tak along the top of this 'wall' before you close the lid will insure a nice airtight fit. |
Step 4
Speaker re-assembled, seal the unused screw holes and run the smoker a few times to find any leaks, Plastercine makes a good sealant and also a good plug for the top filling hole |
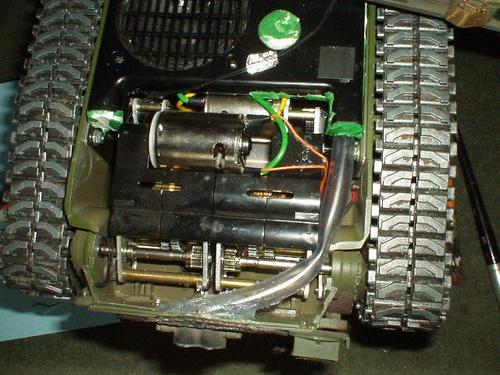
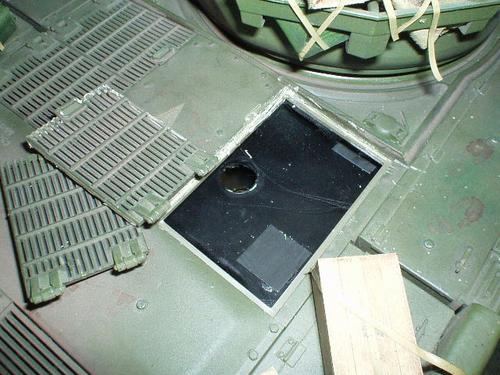
Step 5
Finally free the right hand side engine access grills. You can easily refill the smoker now, happy tankin' ! |
|
Site Design By Skud © Bulldog Models 2006 -2007 |